As of version 0.9.6.8 Ryuzine Press now has three different ways to create covers for your Editions.
1. Oldest Post
This one is pretty easy. If you plan to have ALL your Edition covers work this way you go to:
Ryuzine Press > Options > Covers and set “Cover Source” to “Use Oldest Post.”

As the setting implies, the oldest post assigned to the Edition’s Ryuzine Issue(s) will be used as the cover of the Edition. For regular posts just use the “Add Media” button to place an image to be used as cover art into the post body, assign it to the same Issue as the Edition, and (if necessary) edit the post date to make sure it is the oldest post.
If you are using one of the supported comic plugins that creates its own custom post_type you’d just need to “Add” a new comic and attach your cover art as the Featured/Comic Image for the post. Again, make sure it is assigned to the same Issue as the Edition and the posting date will make it the “oldest” post.
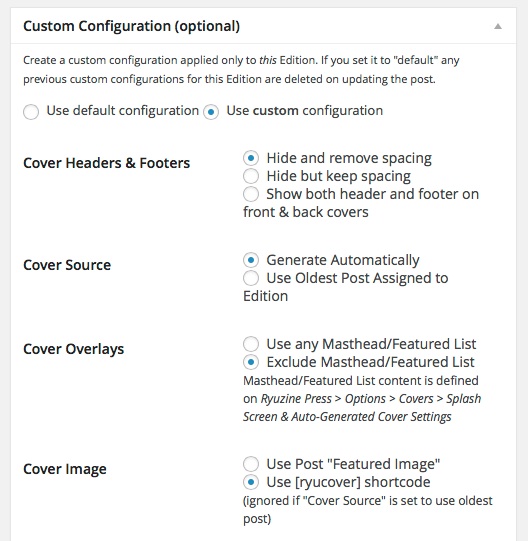
If you want to over-ride the global setting mentioned above, you can now do so by using a Custom Configuration (it’s in the new section at the bottom of the post editing page for the Edition).
2. Edition Featured Image
If you intend ALL your Edition covers to use this method, go to:
Ryuzine Press > Options > Covers and set “Cover Source” to “Generate Automatically.”

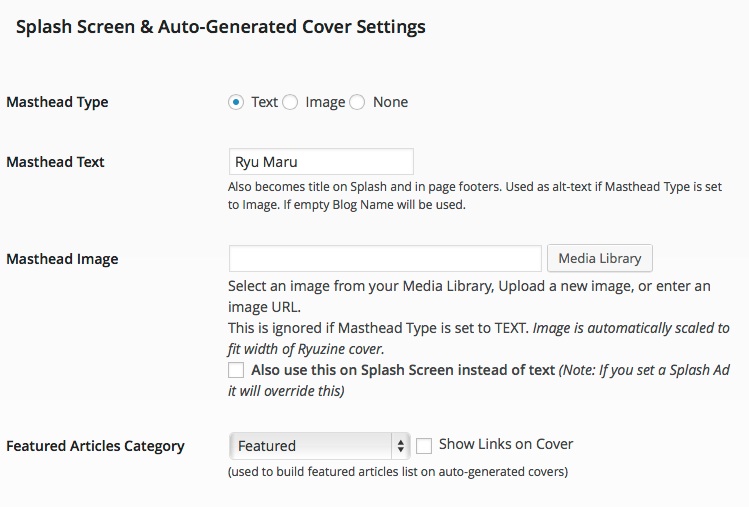
If you also want other things – such as a Masthead Image or a list of “Featured Articles” superimposed on your cover image set those in the Options section named “Splash Screen & Auto-Generated Cover Settings.” Setting these items is optional, but if you do use them remember they are “global” and will be applied to all Editions that use the default settings.

If you don’t plan to use the shortcode option (covered in the next section) you can also let the plugin know not to even look for it, or in a Edition-specific custom configuration to prefer the Featured Image:

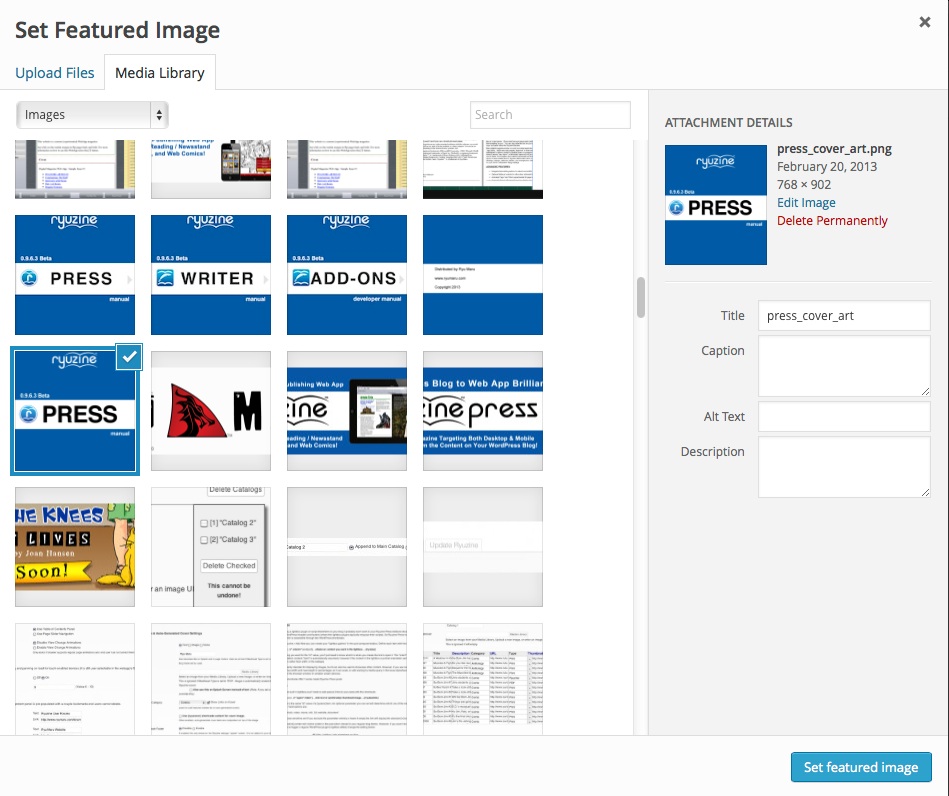
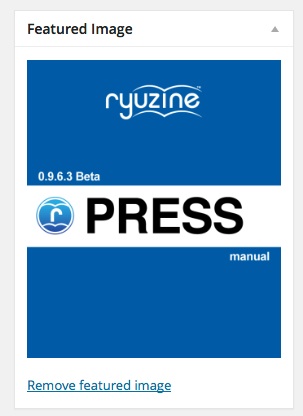
On the post editing page for your Edition scroll down and look for the standard “Featured Image” section.
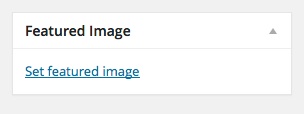
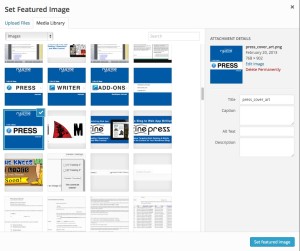
Click the link to open the Media Manager and select the image you would like to use for the cover art on this Edition.
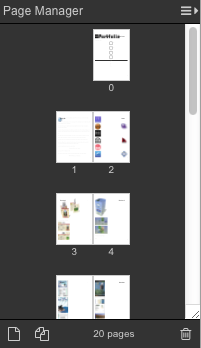
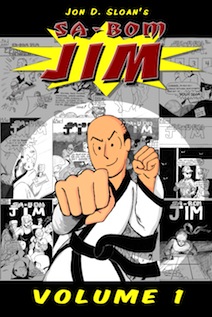
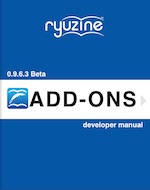
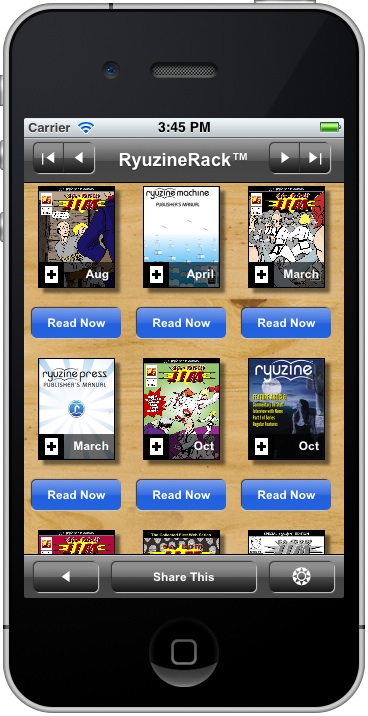
That’s it! Now that cover art will show up as the cover of the Edition and as the thumbnail in Ryuzine Rack (or if you are using the regular archive page it will appear in that list).
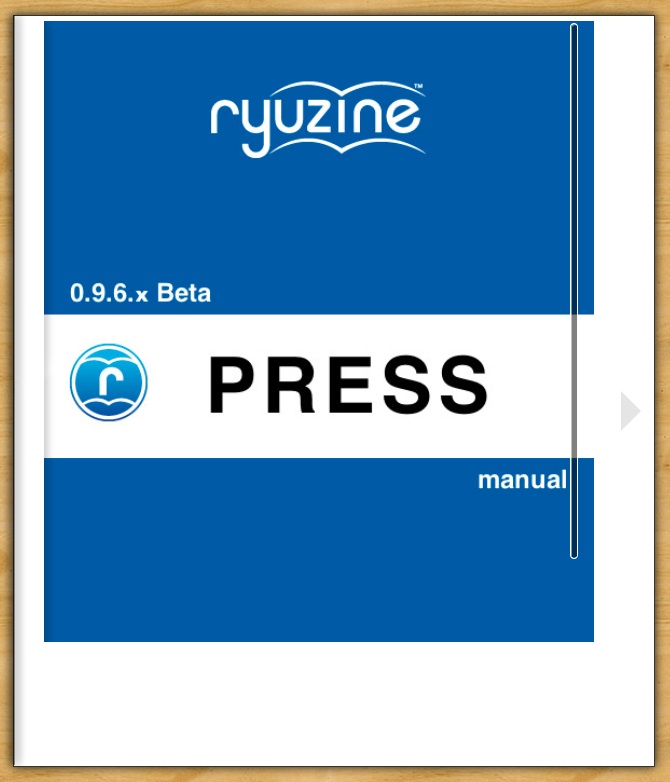
Again, you can over-ride the Cover settings on a per-Edition basis with the “Custom Configuration” section on the Edition edit page. Result:
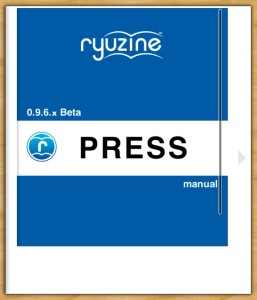
While this is easy, it doesn’t give you much control over how your cover art is displayed within the Edition. For more control use the next method…
3. Cover Shortcode
Like method two above this one requires that the “Cover Source” is set to “Generate Automatically” but you’ll also need to go down into the “Splash Screen & Auto-Generated cover Settings” and find the item labeled “Cover Image” and make sure it is set to “Use [ryucover] shortcode.”

Now, on the edit page for your Edition, in the main post body section type out the opening and closing shortcodes:
[ryucover] [/ryucover]
Place the cursor in between the two bracketed items and use the “Add Media” button to select your cover art from the Media Manger. You only need to place the “Medium” size image (do not place the “Thumbnail” since that will be cropped).
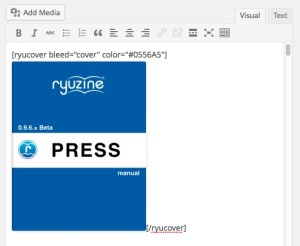
Without any parameters the shortcode will embed an image as the cover in the same way as the “Featured Image” method does. However the shortcode has other options for how to display the image:
Example: [ryucover bleed=”cover” color=”blue” shift=”top left”] [/ryucover]
The “bleed” parameter will set it as a background image using CSS:
0 | null : zero or no value (or omitting “bleed” entirely) embeds the image with the <img> tag.
1 | cover : fits the image, maintaining the aspect ratio, so that it completely covers the entire page container, leaving no white space or border around it (the image may extend beyond either the right or the bottom edges).
2 | contain: fits the image, maintaining the aspect ratio, to the SMALLEST size that will fit BOTH the width and height without allowing any of the image to extend beyond the page container edges – though this will probably leave a white border around the image in one or both directions.
3 | width: centers and scales the image, fitting it by the width so it does not extend beyond the left or right edges of the page container, but may either go beyond the top and/or bottom or may have a white border above/below the image.

4 | height: center and scales the image, fitting it to the height of the page container, but may allow it to extend past the left/right edges or fall short of and leave a white border on the left/right of the image.
Generally “cover” and “width” give the similar results and “contain” and “height” give the similar results – but may render slightly different bordering if they are not an exact fit for the space.
You can also set a background color with the “color” parameter and a valid HEX code (either like #cccccc or #ccc shorthand), HTML color name, or an rgb/rgba color set. If you are using a cover bleed setting that is rendering white bars around your cover art you can set a background color to make it less obvious or to frame your cover art in a more pleasing way.
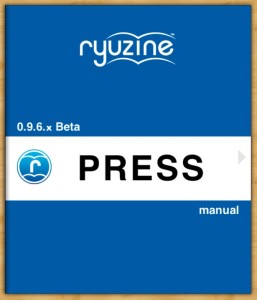
The “shift” parameter allows you to adjust the positioning of the background image. The default position is top and center. You can use either numerical value pairs ( such as “0 0” or words “top left”). However you can end up shifting parts of the image so they go beyond the edges of the page container:

In the image above the setting was bleed=”height” shift=”center center” which allows the sides of the image to be cropped off. Changing the setting to bleed=”contain” wouldn’t do this.
However you may prefer to put your Ryuzine Press Editions together, we’ve got your covers covered. 😉